Rotted window frames are more than just an eyesore—they pose a real threat to your home’s structural integrity and aesthetic value. Learning how to repair a rotted window frame is a valuable skill for any homeowner, as it can be accomplished with some time and basic tools. This guide will walk you through the repair process step by step, helping you restore your window frame efficiently.
Understanding the Damage
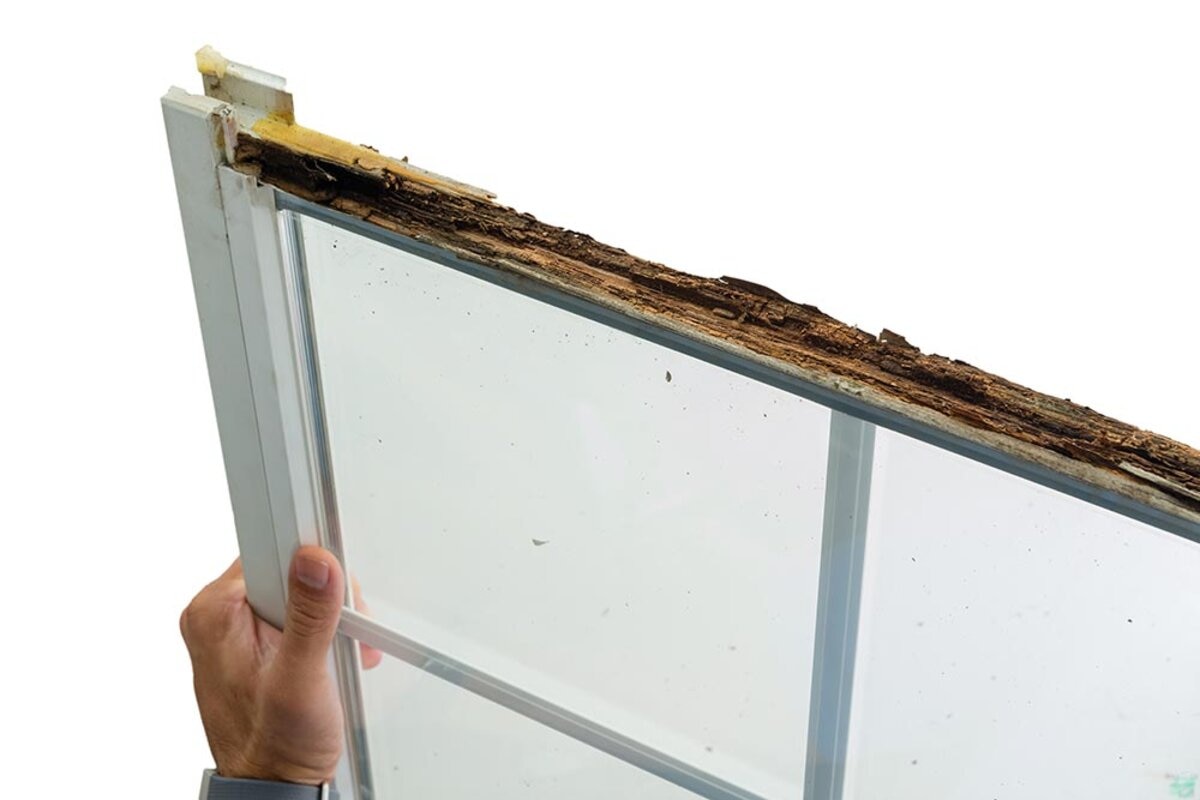
Before you begin the repair process, it’s important to assess the extent of the rot. Rotted wood in a window frame can compromise the structural integrity of the window and, by extension, your home. Identifying how deep the rot goes will help you determine whether you need a simple patch or a more comprehensive repair.
Materials Needed
-
- Wood hardener
- Epoxy wood filler
- Putty knife
- Sandpaper (various grits)
- Primer and paint
- Brushes or a small roller
Step-by-Step Guide to Repairing the Frame
Step 1: Remove the Rotted Wood
Start by removing the soft, rotted wood to make way for the repair. Use a screwdriver or a small chisel to dig out the rotted areas carefully. It’s important to remove all compromised material to ensure the repair lasts.
Step 2: Apply a Wood Hardener
Once the rotted wood is removed, apply a wood hardener to the affected area. This product will penetrate the remaining soft wood and harden it, providing a solid base for the filler. Allow the hardener to dry completely according to the manufacturer’s instructions.
Step 3: Fill with Epoxy Wood Filler
Mix the epoxy wood filler according to the package directions and fill the void left by the removed rotted wood. Use a putty knife to apply the filler, ensuring it’s level with the surrounding wood. The epoxy filler is excellent for this kind of repair because it’s durable and resistant to further rot.
Step 4: Sand the Repaired Area
After the epoxy has fully cured, sand the area smooth, starting with a coarse-grit sandpaper and finishing with a fine-grit for a smooth finish. This step is crucial for making sure the repair blends seamlessly with the rest of the frame.
Step 5: Prime and Paint
To protect your repair and ensure it matches the rest of your window frame, apply a primer followed by at least two coats of paint. Make sure each layer is dry before applying the next. This not only improves the appearance but also seals the repair against weather and moisture.
Maintaining Your Windows to Prevent Future Rot
Regular maintenance can prevent the recurrence of rot in window frames. Regularly check and repair caulking, keep the paint fresh, and ensure that your windows are well-sealed against moisture.
In Summary
Repairing a rotted window frame can restore the functionality and aesthetic appeal of your windows, improving the overall condition of your home. With the right materials and a bit of effort, this is a manageable project for most DIY enthusiasts.
If the damage seems extensive or you’d prefer a professional touch in your efforts to repair a rotted window frame, please don’t hesitate to contact us for expert assistance.